Connect to ESP's (email)
Publishing to Mailchimp File manager
Uploading the creative -
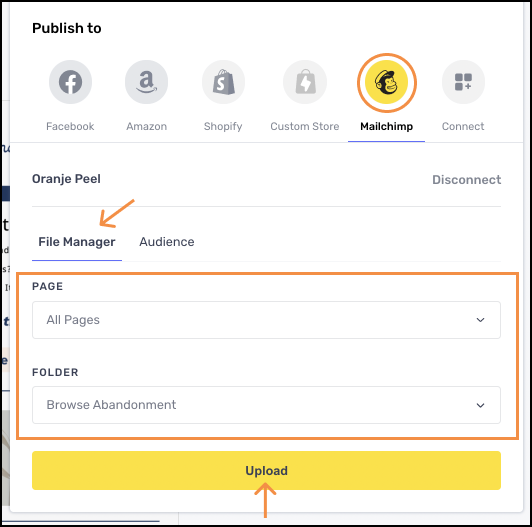
- Open the project and click on the 🚀 Publish icon in the top-right corner of the editor
- Select the Mailchimp and click on the File Manager tab.
- If you haven't connected your Mailchimp account yet, please connect it.
- Select the Page(s) and the Folder you want to upload the creatives to from the corresponding drop-downs.
- Click on the Upload button
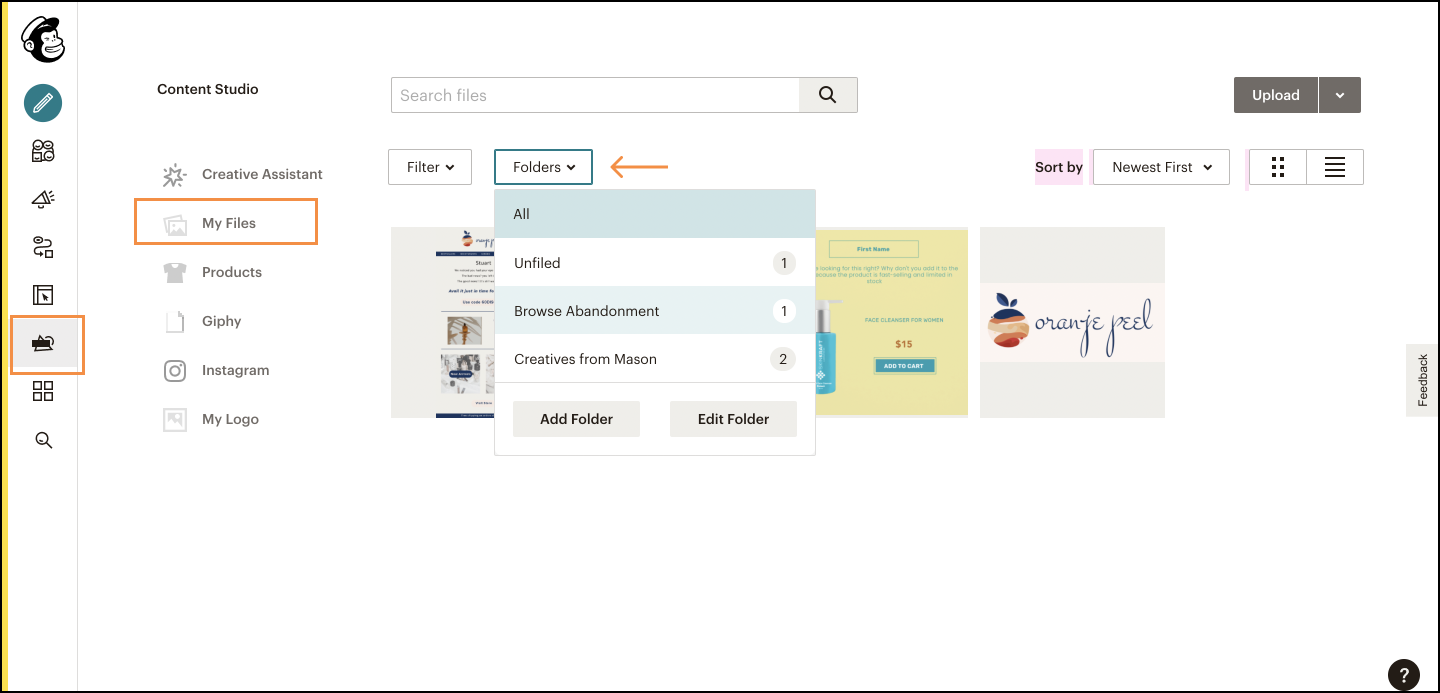
Once the upload is complete, you can access the creatives in the Content studio of your Mailchimp account
Publish to Mailchimp Audience
- Go to the Homepage > Recent Projects and open a project
- Click on the Publish icon located at the top-right corner of the editor
- From the dialog, click on the Mailchimp tab and then click on the Audience tab under it.
Publish to Mailchimp audience field
This helps to create personalised content by using the audience attributes (aka audience fields) and publish it to corresponding contacts through a |MERGE TAG|
Please noteTo publish a creative to an audience field, you must generate creatives in bulk by using the Mailchimp audience attributes and linking to the layers in your base creative.
Learn more
- Open the project which has creatives generated through linking Mailchimp audience.
- Click on the 🚀 Publish icon in the top-right corner of the editor.
- Select the Mailchimp and Click on the Audience tab.
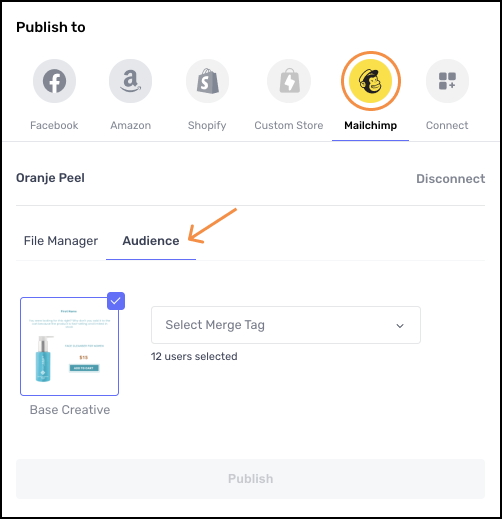
- Select the Merge Tag that is associated with the Mailchimp audience field in the drop-down.
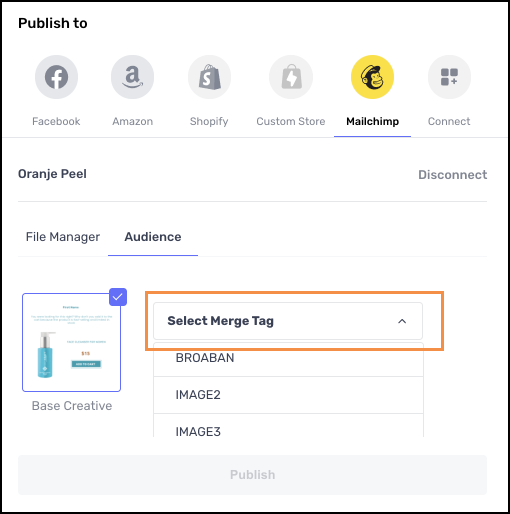
- Click on the Publish button.
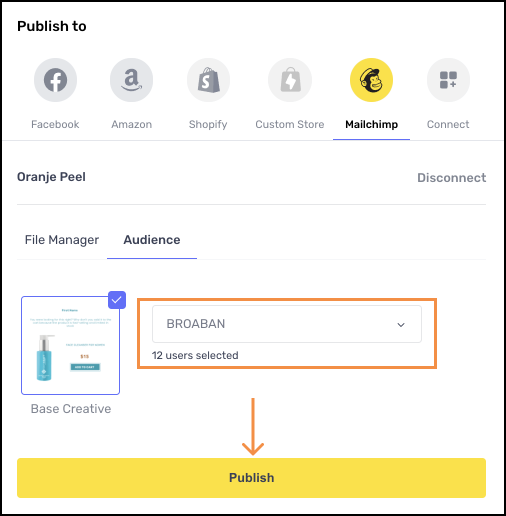
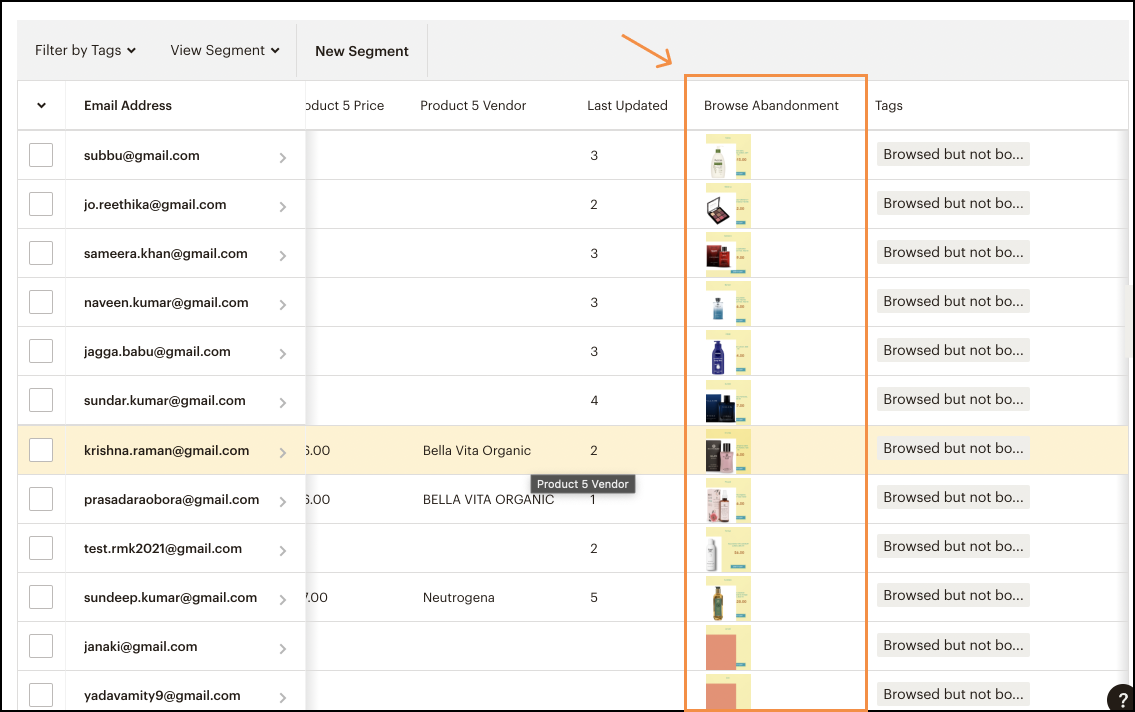
- The creatives are then published to the selected audience field and all the corresponding contact rows will get updated with these creatives.
Updated 4 months ago
